WEEK 1
This week was an introduction for Photoshop. We learnt about Alpha Channel which displays the transparency setting of a pixel. Alpha Channel plays a vital role in combining different images.
White -> the solid part of the picture
Black -> the transparent part of the picture

Stonehenge Exercise
In this exercise I have removed the sky from a Stonehenge image and replaced with a stormy one. I used Color Range in Photoshop.


Animal Hybrid
In order to combine two animal species into one, I chose 2 animal imagines that mirror each other’s pose and composition. Using the pen tool, I cut out the head of the first animal and then I placed it to the other one. The shape around the hybrid animal head became smoother due to the expand and feather modifier. I cleaned up the areas around the head with the pen tool. I adjusted the image using color balance, brightness and contrast and I also added a warming filter.


WEEK 2
Green Screen Exercise
Using Photoshop, I replaced the background of a lady standing in front of a green screen with clouds.I used colour range to select the green area and masked it, thus revealing the image of the sky I had placed behind the green screen image. However, there was still a green tint around her body and hair so I made a hue/saturation layer, selected the green around her and pulled the measure down until it was all gone. Another solution would have been to use Select -> Modify -> Feather & Reduction and Colour Correction to desaturate the green.


Apocalyptic building


In this task I made an apocalyptic building out of the images above. I changed the sky using the Color Range tool and I used Color Balance to make the hospital match the sky. I applied a rust mask on the hospital by using the mask tool. Then I used blending modes to achieve the old rusty look. The vines going up the hospital were created with a new brush.I used the burn tool on some areas to make it darker and I finished off by adding a lens flare, foreground and elements some finishing touches .

WEEK 3
Introduction to Maya
Our first Maya task was to build a temple. I created polygon shapes and used the basic tools such as scaling, moving and rotating. Once I had my final shape, I rendered it in Arnold and downloaded a HDRI image to create a universe for the object. In the end, I added a ceramic material to the object.


Modeling a spaceship
By extruding and manipulating the edges and faces I was able to create a spaceship. In order to smooth the model, I pressed "3" on the keyboard to activate the smooth preview.


WEEK 4
Modeling a cup
In order to create a cup I made a cylinder, then deleted the upper faces. To select the faces, I convert a selected vertex to faces by Ctrl + Rclick. I added a polygonal torus and deleted the inner part to make it look like a handle. I inserted edge loops (from mesh tool) so that I could connect the vertices of the handle and cup together. I then combined the cup with the handle (Mesh -> Combine). Here is the result:


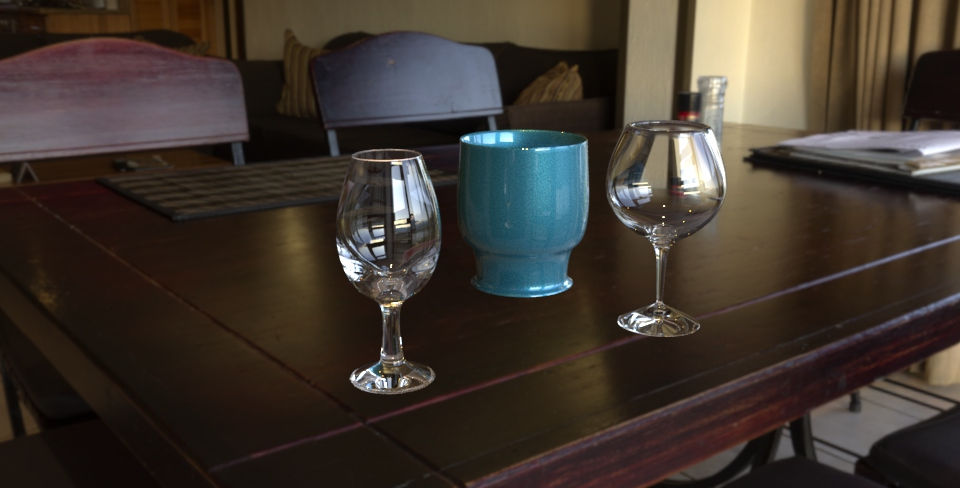
Other glasses I made:
I used Curve Tools -> CV Curve and Surfaces -> Revolve. General. I used Bevel Edge in order to smooth the glasses. After I finished the first glass, I duplicated it and changed the CV curve (Rclick-> Control Vertex)


Modelling a kettle
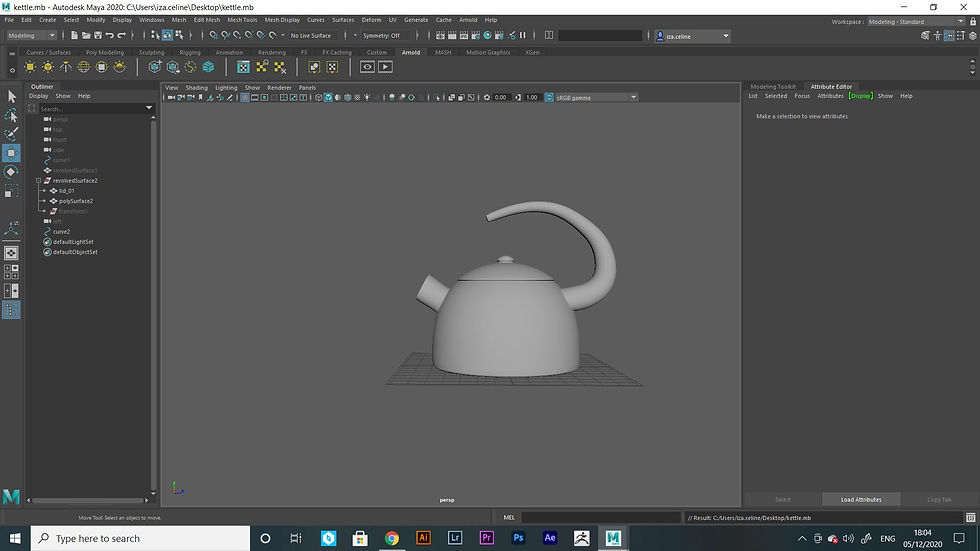
I created the kettle by using CV Curve and the Revolve technique. For the handle I selected some faces and then used circularize. I made aCV curve and extruded some faces to continue the handle. I separated the lid from the kettle with extract and I smoothed with Bevel.



WEEK 6
Lights and the AIStandardSurface
This week we talked about Arnold. We insvestigated the Lights in Arnold renderer. Skydome Light, Physical Sky and Area Light are usually used for exterior environments.Arnold was the primary renderer on dozens of films from Monster House and Cloudy with a Chance of Meatballs to Pacific Rim and Gravity.
I've been practising the techniques I learned from this week and below are some screenshots about this


As an exercise, I modelled and textured another object created in today's class.


WEEK 7
Maps, Shaders and Render Setup
This week we learnt what Hypershade is and how we can control shading networks with the use of rendering nodes.
Where is Hypershade?
Window > Rendering Editors > Hypershade.
To add maps after we add the aiStandardSurface, we click on the chequered box in Attribute Editor.
If we want to diminish the noise, we can increase the sampling rates. However, this would also increase the rendering time.


WEEK 8
Fake News Assignment
1 A STUDENT TAKES HIS CAMERA AND EXPLORES THE MOON

The images I used:


2 MAN WHO CREATED CORONA VIRUS IS SPOTTED GOING TO HIS HOUSE
I made this picture last summer when working for my portofolio for uni, so I don't have the assests anymore, but I still think it's suitable for our task.

Fake News Assignment
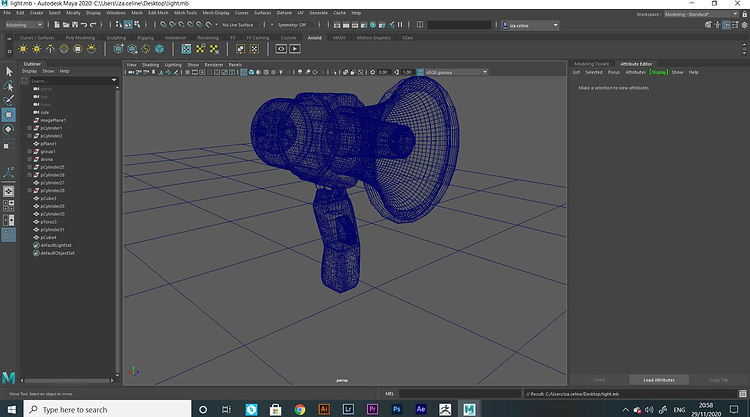
For this assignment I decided to create a bullhorn which can also be a laser.


Workflow:



WEEK 9
UV mapping projections


1

2
WEEK 10
Megascans Bridge and Mixer
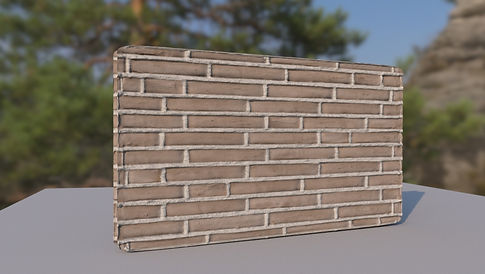
In this lecture we made a brick wall and added PBR shading network (using Megascans Bridge and Mixer)
Here are some notes I made:
Place2dTexture: settings -> change Repeat UVs (when the texture is too big)
When having colour images: Colour space->sRGB
0-1 maps: Colour space->raw
Colour Balance->"Alpha is luminance" ->on(when adding maps such as displacement, specular, bump, roughness)




WEEK 11
Introduction to Substance Painter
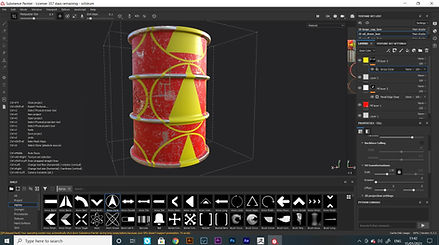
We used Substance Painter to paint an oil drum created in Maya
Each part of the object needs to have different materials before exporting whole object to Substance Painter because Substance Painter can't see objects, but textures, materials etc.
When exporting, we need to set the file type to FBX.
After importing: Edit -> Bake Mesh Maps(output size to 2048)




Preparing for the second assignment (New York Rooftop)


New York Rooftop
Reference


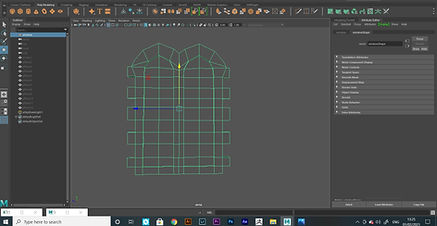
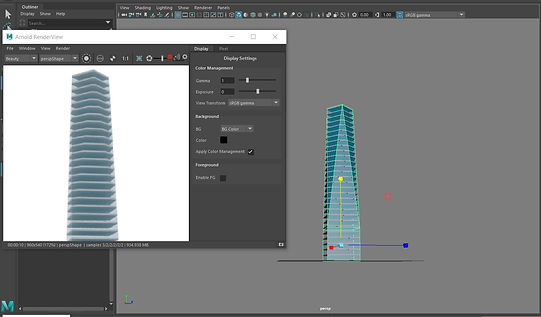
My 3d models:





My final images:


Time Leap Project
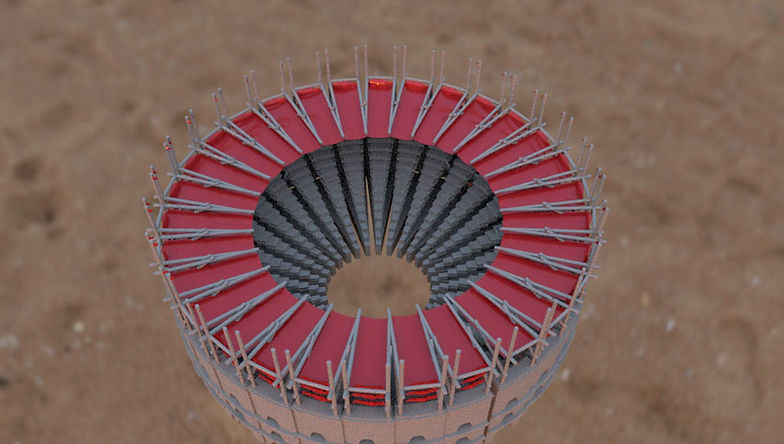
For Time Leap Project, I created a Gladiator Arena.
A gladiator was an armed combatant who entertained audiences in the Roman Republic and Roman Empire in violent confrontations with other gladiators, wild animals, and condemned criminals. Some gladiators were volunteers who risked their lives and their legal and social standing by appearing in the arena. Most were despised as slaves, schooled under harsh conditions, socially marginalized, and segregated even in death.
Reference


Workflow


When I was creating the gate, I had a really rough time using Mesh->Booleans -> Difference. It wasn't working the way it should and it was completely erasing one of the polygons. However, I found a solution that works for me. I filled the hole of my cylinder ( because I cut half of it) and detached the face I was doing the boolean on.

Flag and canopy
I used a polygone plane, then went to the FX menu and created nCloth.
I used Fields-> Gravity. After selecting the vertexes I wanted, I used nConstraint -> Transform
When I was happy with my result, I
Mesh-> Combined everything and centered the pivot. I duplicated the object for several times. It was a really big number of polygons, so Maya was crashing a lot :)
I then used the animation menu:
Deform-> Nonlinear->Bend. I adjusted the bend deformer and set the curvature to 180.


My final images:


