CHARACTER ANIMATION
WEEK 1
Ball Bounce
This week we learned how to create a basic animation. We talked about animation controls, keyframes, graph editor navigation, arcs. Here is a video reference for a bouncing ball: https://www.youtube.com/watch?v=sKJegbjS4N8
The basic animation controls of Maya:
A- Framerate menu
B-Loop
C-Cached Playback
D-Autokey
E-Animation Preferences

Set Keys:
1. Select the objects that have the attributes we want to key.
2. Select Key > Set Key or press S
Auto key:
Auto Key automatically sets keys on attributes every time you change the current time and attribute value. A key must already exist for an attribute before you use Auto Key.
To Auto Key an animation
-
Turn on Auto Key in the Playback Options. When Auto Key is active, the button is highlighted red.
-
Set a key on any attribute of an object.
-
Go to a new time in the Time Slider.
-
Change the value of the previously keyed attribute.
A key is created for the attribute. You can create another key by going to a new time and changing the value of the attribute again.
Channel Box:
.

Graph Editor:
How to open it?
-
Windows > Animation Editors > Graph Editor.
-
From the view menu bar, select Panels > Panel> Graph Editor.
-
We can switch to the Classic Graph Editor in the Preferences window. Preferences > Graph Editor > Graph Editor and we turn on the Classic option.
Pan and Zoom in the Graph Editor:
Pan: press Alt or Option key and middle-drag
Zoom: press Alt or Option and drag or right-drag. Zooming is centered based on the location of the mouse cursor.
Zoom horizontal: Press Alt or Option (Mac OS X) + Shift and right-drag.
Zoom on a curve: Select the animation curve (see To select a curve,below) and click F to frame the selection.
Move to the previous or next view:
Use the square bracket hotkeys ([ and ]). These are the same hotkeys that let you move between camera views in the viewport.
To navigate through views using these hotkeys, click in the Graph Editor then press left bracket ([) to move to the previous view, or right bracket (]) to move to the next view.
Select a key:

I created a ball-bouncing animation using a sphere and a plane. I added point light and shadows. First, I created a layer from selected (The plane) not to accidentally select the plane when editing. After setting keyframes, I used the break tangent for the moment in which the ball comes to the ground to highlight the movement.
In order to look realistic, after adding keyframes for movement, I adjusted the scale of the ball when it is in the air and when it has contact to the ground.

Here are the render settings that we adjusted and the graph editor.


Ball Bounce Reference
WEEK 2
The Obstacle Course and Ball Rig
In week 2 we learned how to create arcs with the animation.
We looked at how to make useful adjustments when editing.
Select and edit key timing:
Select with Shift + LMB drag to select range can move keys and scale timing.
Dopesheet:
Windows>Animation Editors
Provides base functionality to edit overall timing or key timing per channel.
Editable Motion Trail:
the visual representation of motion in the Viewport which can be edited directly


Creating arcs for the ball bouncing animation:
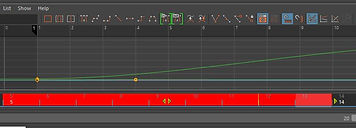
First, I copied the keyframes that I created for the basic animation from week 1 and pasted them at the end. Everytime the ball reaches the ground, I added keyframes and moved it to the right. Then, I adjusted the position of the arcs in order for the movement to look more realistic.

Control Rigs and animation interfaces
We can use colored NURBS curves to control objects.
In order to understand more about the rigs, we exercised on a sphere.
Yellow Curve: used for overall placement & relocate animation (we don't animate on this, but can use it later if we need to re-position)
Blue Curve: animates the position of the ball
Red Curve: controls the rotation, it is used to animate the spin
Green Curve: it is for squash and stretch
Dark blue Curve: helps us rotate the deform controls to offset of squash and stretch
So, by adjusting these curves, we can adjust the movement, rotation, squashing and also streching.

Overall placement control
Move control
Rotate control
Squash and Strech control
Deform control(squash, strech, rotate)
Exercise ball obstacle animation
WEEK 3
Lattice deformer, 'Sack of flour' and Arm Rig
This week we looked at methods of control. We examined 'parent child' relationships, linking, pivot points and we played around with a lattice deformed to get a sense of movement.
We created a basic hand rig using basic poly cubs.
I used cubes and in order to make the hand look more realistic, I adjusted some of them.
In the hierarchy, I created and named groups out of the parts that I created.


Note: 1. in order to adjust the movement/rotation of the hand, we need to expand the tree and select all the children (hold down Shift and click on the + of the main parent)
2. Modify->Freeze Transformations is always an essential step because it will zero out all the transformations so that the model will correctly animate
Modify-> Search and Replace Names
It looks for the name specified in Search For and it replaces it with the one specified in Replace Width.

Modify-> Prefix Hierarchy Names
It adds a prefix to the name of the selected parent object and its children:
1. Select the parent
2.Modify->Prefix Hierarchy Names
3. Type a prefix and click OK
After finishing the first hand, I duplicated and mirrored:
Edit -> Duplicate Special

Flour sack animation
WEEK 4
Inverse Kinematics | Animation Output
Forward kinematics and inverse kinematics are the techniques for posing a skeleton.
Forward kinematics(FK)
To pose a character with forward kinematics, we rotate each joint individually until we get the desired positioning.Moving a joint affects that joint and also any joints below in the hierarchy.
Inverse kinematics(IK)
With IK, we create an extra control structure, an IK handle, for certain joint chains such as arms and legs. An IK handle allows us to pose and animate an entire joint chain by moving a single manipulator.


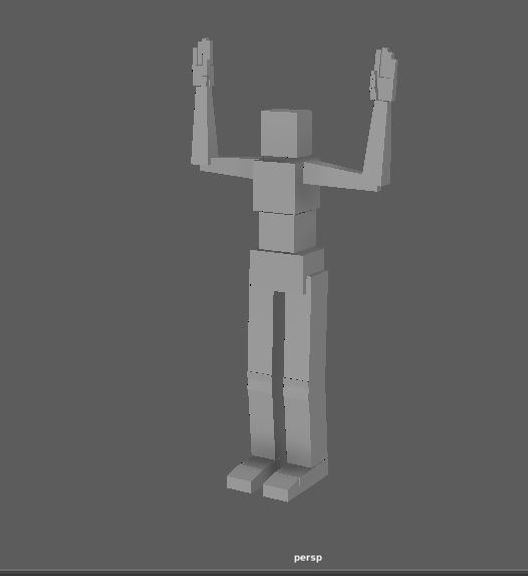
We continued working on our character and we made him legs.
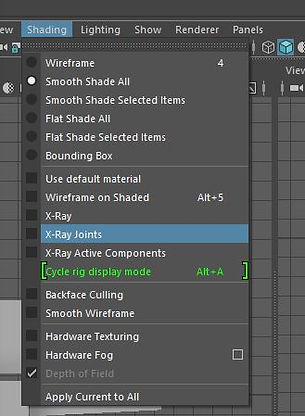
We turned on X-Ray Joints in order to see the joints.
Shading -> X-Ray Joints
In Hardware Renderer Settings, we went to Screen-space Ambient Occlusion and we enabled it.
We changed the workspace to rigging and went to Skeleton->Create Joints
In order to properly create joints we need to go to an orthographic view!!
Change the joint size:
Display-> Animation -> Joint Size
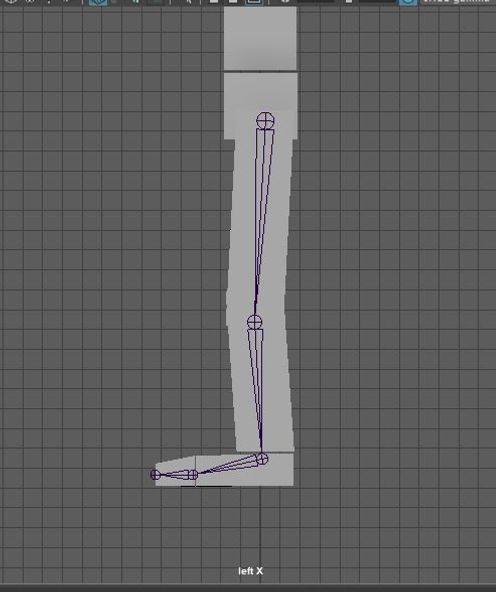
Skeleton -> Mirror Joints: in order to duplicate and mirror the left foot joints

We created another joint for hips and in order to add bones in between the joints, we changed the hierarchy and added right&left legs joints into hips.

Creating Constraints:
Constrain -> Parent
First, we need to select the controller(the joint), and then the object we want to control. //master and slave//

Creating IK Handles:
Skeleton->Create IK Handle
First, we select the parent joint and then the child joint. We also need to freeze transformations!!
On IK Handle Attributes, turn on the stickiness.
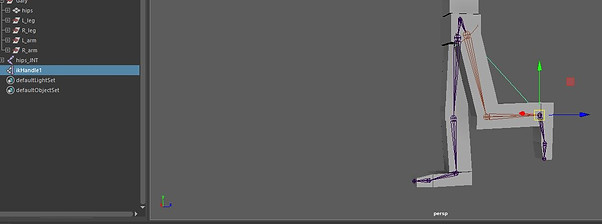


We created Circles (Nurbs Primitives) in order to make the movement and rotation of the feet easier. We then parented them to the ikHandles.
We created joints and constrained them for the top part of the character.
We also added more controllers.
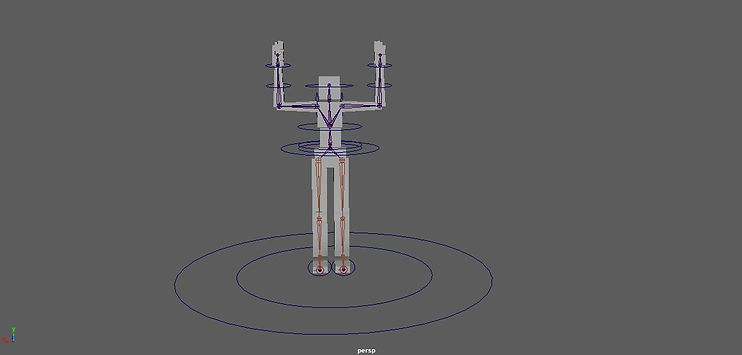
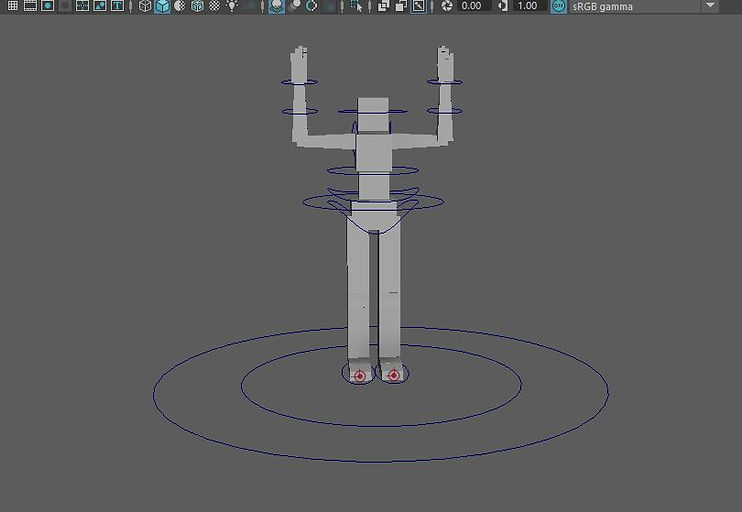

WEEK 5
Posing and 'Head turn'
This week, we continued learning how to animate our character, therefore, we created a simple ball that the cube man will pick up.
We used SHIFT + W and SHIFT + E to set keys in order to control the movement and rotation.
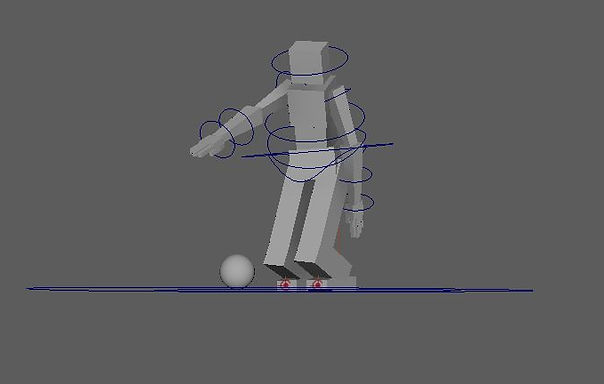


Pole vector constraints
We created 2 nurbs circles and placed them in front of the knees and applied Pole vector constraints with each foot IK handle. A pole vector constraint makes the end of a pole vector to move and follow the position of an object, or the average position of several objects


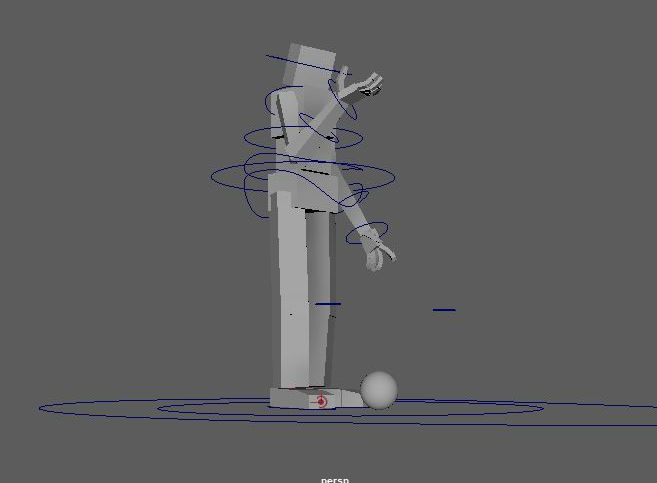
Locator
In order to make our character to pick up the ball, we created locators which are points in space that create a cross. We added a ball locator, hand locator and floor locator. We placed the first locator in the middle of the ball, and we parent constrained it; we did the same with the hand locator. The floor locator is snapped to the ball locator.
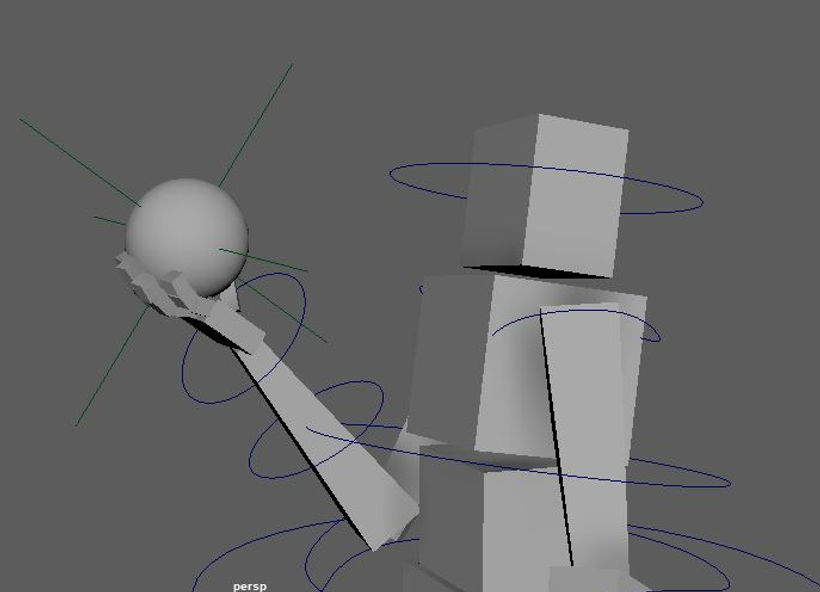
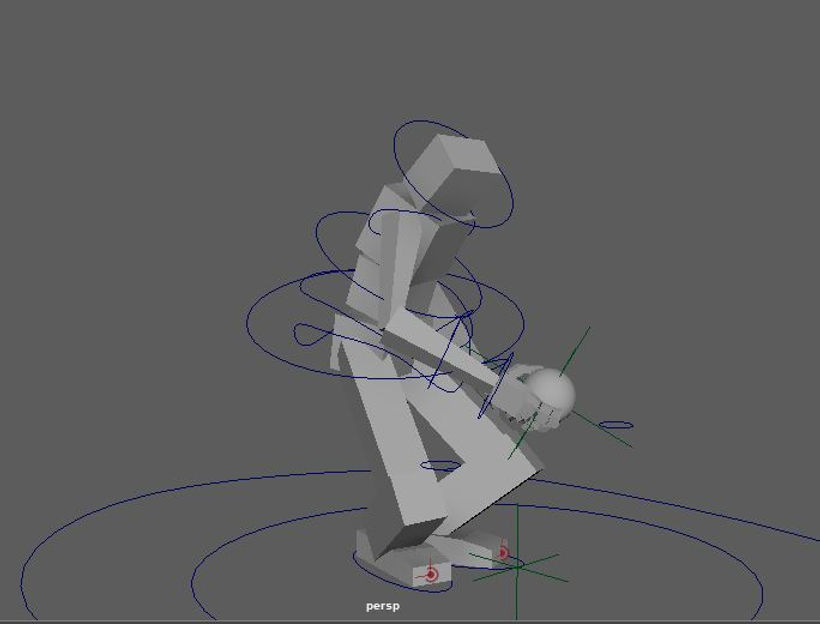
In order to inject life into my character, I added him a believable stance before he picks up the ball and when he holds it. I also added more refinements such as adjusting the fingers so that it looks realistic, or leaning back a little bit when he gets the ball to express his excitement. Finally, I added a camera and set some keyframes to adjust its movement.
Final result:
Assignment 1
Ball Bounce Animation
For the first assignment, I sculpted an obstacle course for a ball by creating 6 obstacles and animating 2 of them. With the help of rigs, I animated the ball movements using squash and stretch, rotation tool, etc. I didn't created an animation in which the ball just goes through the course, but an animation in which the ball wants to finish the course, having its own mind. For textures, I used Ai Standard Surface Material (ceramic preset) for obstacles and for the ball, I used Blinn. I added a camera and Directional light. I rendered it out using Arnold Render and ended up having 300 frames. I imported my project into After Effects.


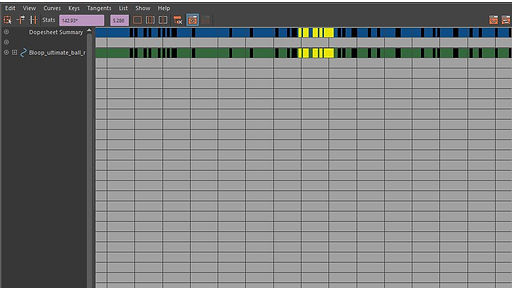
I used the Dope Sheet to move the keyframes along easily or sometimes I did it in Time Slider
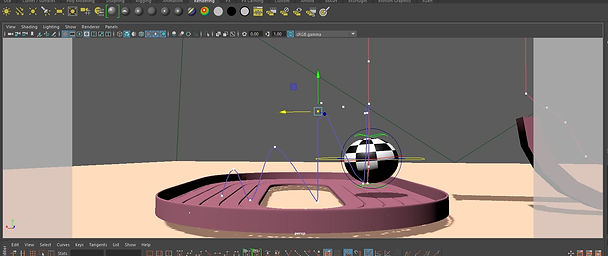
Using editable motion trail, the visual representation of motion in the Viewport which can be edited directly, I created and animated the arcs
The render settings that I used:


Final Animation
I played around with the keyframes to make the animation look more realistic, added a background (a plane and changed the rotation to 90) and adjusted the position of the light. I then imported my project into After Effects and added a Vignette effect.
WEEK 6
Walk Cycle
This week was about getting a rigged character to walk.
Here is some walk cycle reference:


At frame 1, I posed the rig on the right with the left leg forward and right leg back, and I put the arms in counter pose.

First passing pose, starts at frame 7, I played around with r_ankle_IK_control and main body_control

For the next frames, I moved r_ankle_IK_control and main body_control forwards and posed the arms opposite of frame 1.
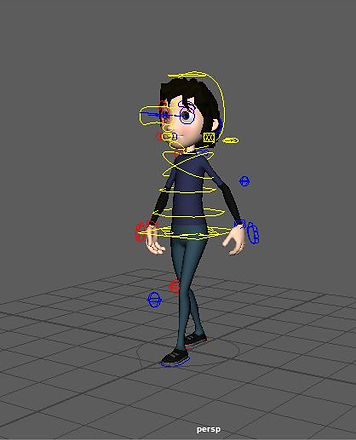


Hips rotation: I played around with hips control arrow rotation Y at frame 1 and 25, and in the opposite direction at frame 13. At frames 7 and 19, the keys for hips shift over the planted foot.

Validate and edit the arcing motion:
Visualize->Create Editable Motion trail

WEEK 7
Lifting Weights
This week we looked at how to animate our character to lift objects.
Reference:


2 methods for animating weight lifting:
Method 1: Parenting
Basic Parent -> Child hierarchy so hands follow the box
Method 2: Parenting and Constraints
Parent Constraint is animated so the hands follow the weight on lift and are free beforehand
For both of this methods we used locators.

WEEK 8
Jump
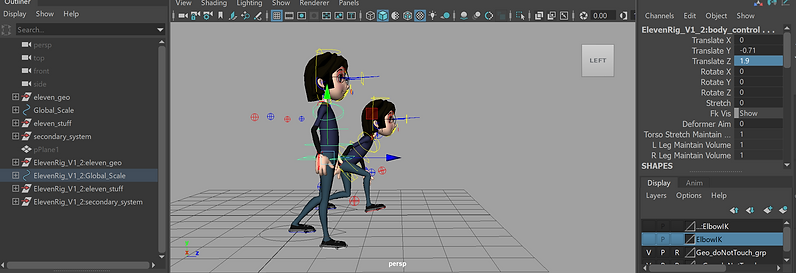
This week, I created a jump animation with the Eleven Rig character, focussing on the illusion of weight and anticipation. As a reference, I used the jump animation which was provided for us on blackboard.

WEEK 9
Animation Reference and Rotoscopinng
This week we learned how to use reference for animation including the process to setup video reference in Maya viewport to create a Box Lift.
As reference, we used a box lift youtube video.
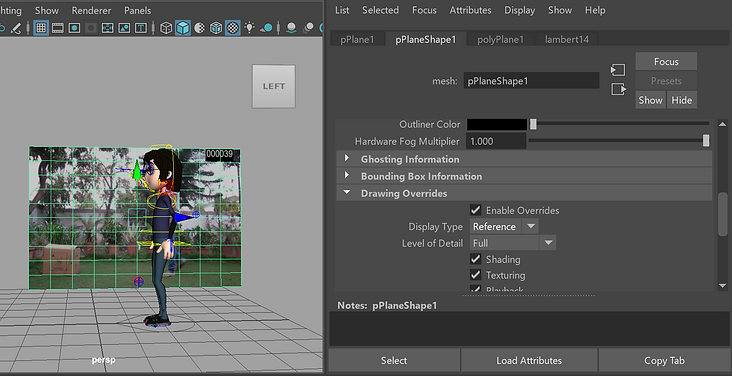
First, we imported the video reference in After Effects, scaled the footage to fit the frame and length in the timeline and from Composition -> Composition Settings we set Duration to match the length of our clip. Then, Export->Add to Render Queue. In the Render queue, we set the Output Module to Lossless and the format to Targa Sequence. Then, we clicked the file name besides 'Output to', browsed to where we output the image sequence and named the file name with 3 [###]'s as this will export the files in format 001-100. Longer suffixes as ##### do not seem to load correctly in Maya.
In order to import the image sequence, I created a PolyPlane and I textured it with the video reference.



Assignment 2
Character Animation
For this assignment, we had to animate a character moving with personality, while incorporating the techniques we have learned.
I downloaded my character and then I downloaded a weight that I textured using AiStandard Surface and Lambert Material. I animated my character to pick up a weight and lift it on top of his head.


Reference:
First, I used keyframes to animate him to make a step forward and to look at the weight. Then, I animated him into a squat position. I used 2 locators, that I positioned on his hands and I used parent constraint in order to connect the weight to the hands and to follow the hand movement
I animated a little jump when he has the weight and tries to lift it higher in order to express the illusion of weight.

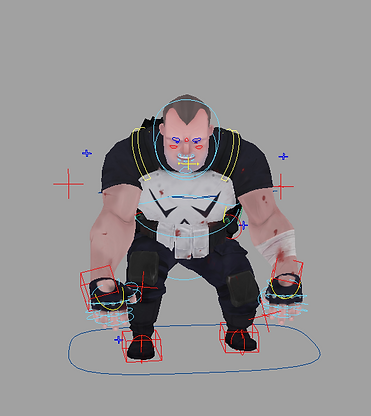


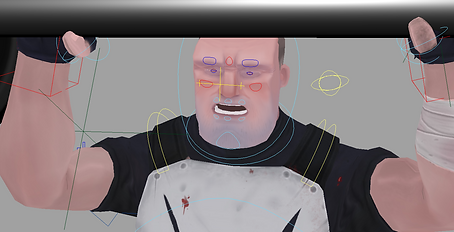
To make him look more realistic, I made him blink and open his mouth when lifting the weight on top of his head.


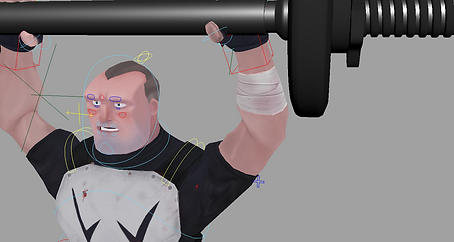


Finally, I created a background. I added light to the scene to create depth and shadows. I added a camera and keyframed it to create camera movement.
My final result:
WEEK 10
Cameras and Animatics
This week we looked into cameras' focal length (angle of view) and depth of field settings in Maya. We investigated techniques to block out animatics and learned how to load an audio file into the maya scene.
We learned more about the focal length from here:
https://help.autodesk.com/view/MAYAUL/2019/ENU/?guid=GUID-B45D6241-AF72-4AA3-B8F6-EC5EB76CDB28
Depth of Field: the distance from the camera to the object(focus distance) is important when we set up the depth of field. We were told about 2 methods to focus distance.
Distance tool:

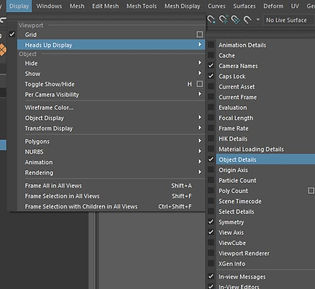
Heads up display

By default, Maya has the ''auto tangent'' type for animations which helps at smooth motion or interpolation.
Blocked animations moving from pose to pose can be made if we change the tangent type from auto to in=linear and out=stepped.

WEEK 11
Lip-Sync and Viseme Blocking
We explored different eleven-rig controls for facial animation. We learned how to create viseme shapes. Phonemes and Visemes
Phonemes are the phonetic sounds necessary for speech
Visemes represents the visual representations in 3D required to form the phonemes.


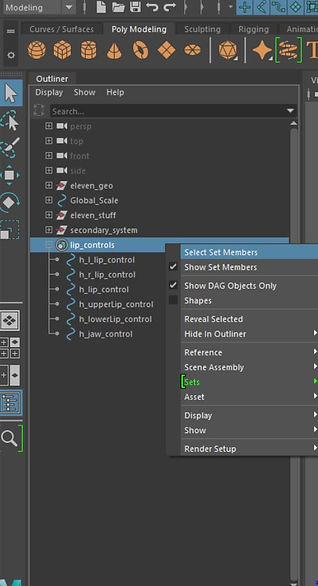
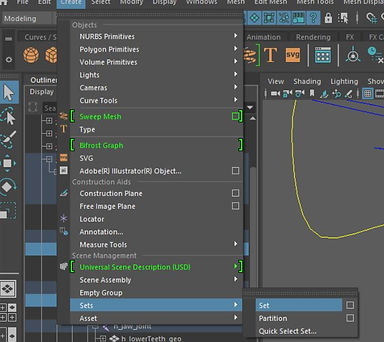
Selection sets:
WEEK 12
Camera’s & Shot Sequencing
Camera sequencer is similar to video editing. We can add shots to create a sequence that illustrates our work from different cameras and then render it as playblast.
https://knowledge.autodesk.com/support/maya/learn-explore/caas/CloudHelp/cloudhelp/2018/ENU/Maya-Animation/files/GUID-FDCA1426-D7FE-41A5-9563-5628C736BCCC-htm.html
Assignment 3
Task:
Students will create an 11 second animation, animating a given rig to an 11 second audio clip. This will prove a strong foundation in the basic principles of animation, and show off some of the more advanced topics, such as overlapping or secondary motion, force and mass changes, acting and character development.
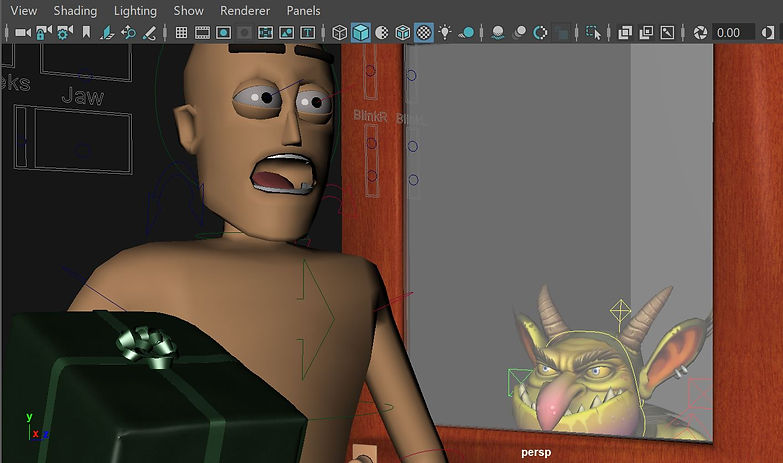
For this assignment, I created an animation sound clip. I imported Max rig and a monster rig, a teddybear, a gift box, a door and a 11 second audio. I made sure everything adds up technically: I imported the chosen audio and selected 24fps.
I used the parenting method to make the character hold the giftbox and the teddybear. Throughout 350 frames, I animated multiple points of the rig like hands, feet, facial movement and head. I made the character hapily walk and dance a little, going to a loved one but finding someone unexpected on the other side of the door.Once the animation was done, I used playblast feature and I adjusted the viewer settings. Then, I created 2 cameras and I animated their movements.Using cameras sequencer I put the two of them together.
I made the carachter sing using lip-sync
